

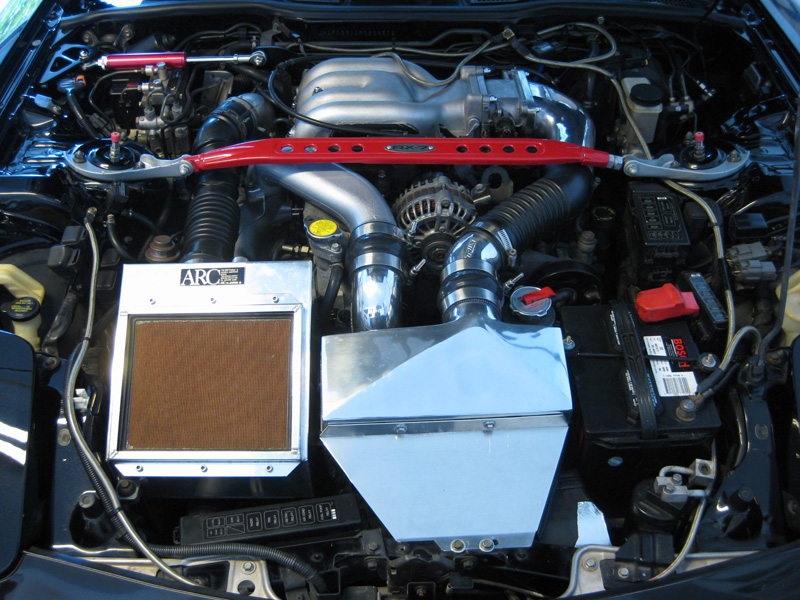
How-To: Modify eBay Engine Damper
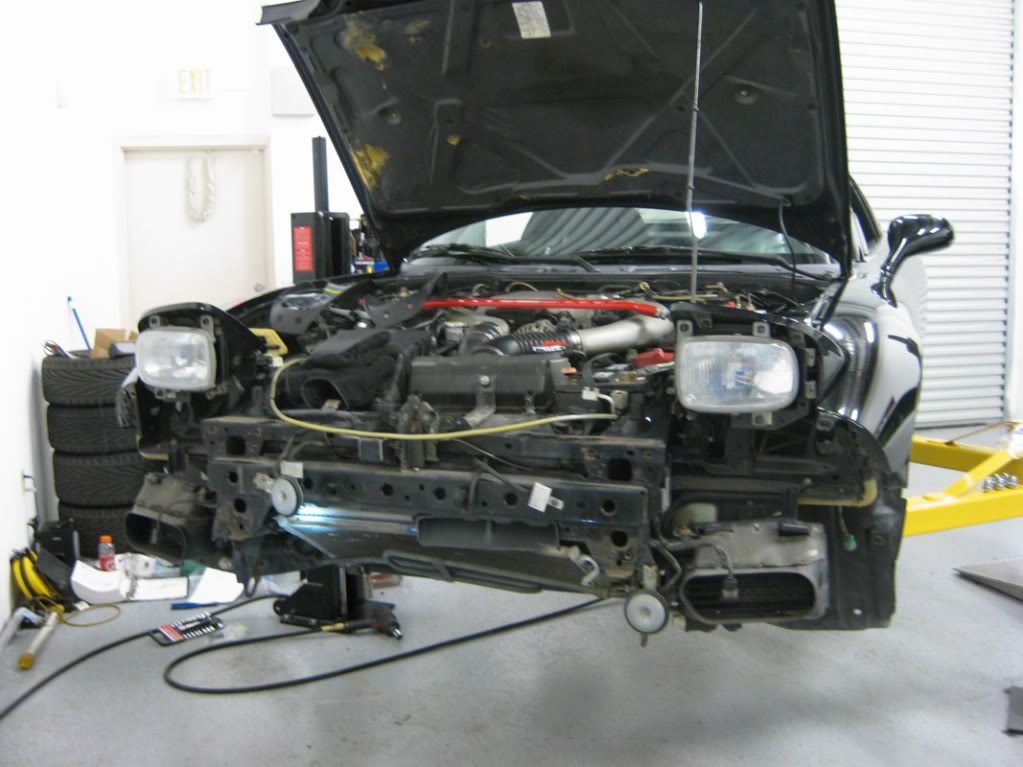
July 25, 2009I know a few of the forum members have opted for the eBay damper over some of the other ones out there due to simplicity of design (simple rubber isolated strut that will allow a few degrees of forward/backward motion on accel/decel) but the blinding problem with the Ebay design is it was made for a JDM FD, hence why the main mounting bracket doesn’t account for the ABS pump being on the passenger’s side.
So to remedy this problem, I have a small quick write-up of what you can do to modify the Ebay bracket and have a functioning engine damper for under $60. There are a few people that have managed to re-drill the wheel well bolt holes and make it work with the ‘stock’ hole, but the measurements still seemed off to me. Another option is making a fully custom wheel well bracket.
Note: This is just a rough guide to help assist you to modify your bracket/give you ideas. I take no responsibility for you modifying your bracket wrong and it not working for you. Read the instructions in their entirety before starting to get an idea of what you will be doing before you start cutting/drilling.
Happy Modifying!
Parts:
1 x Ebay engine damper
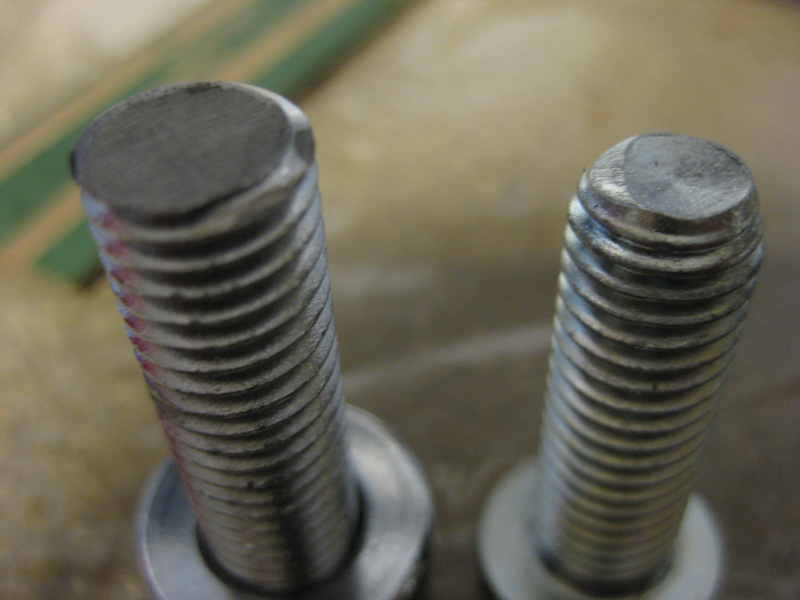
1 x Rounded head bolt the same diameter/thread pitch of the ebay bolt, just 1/4″ longer
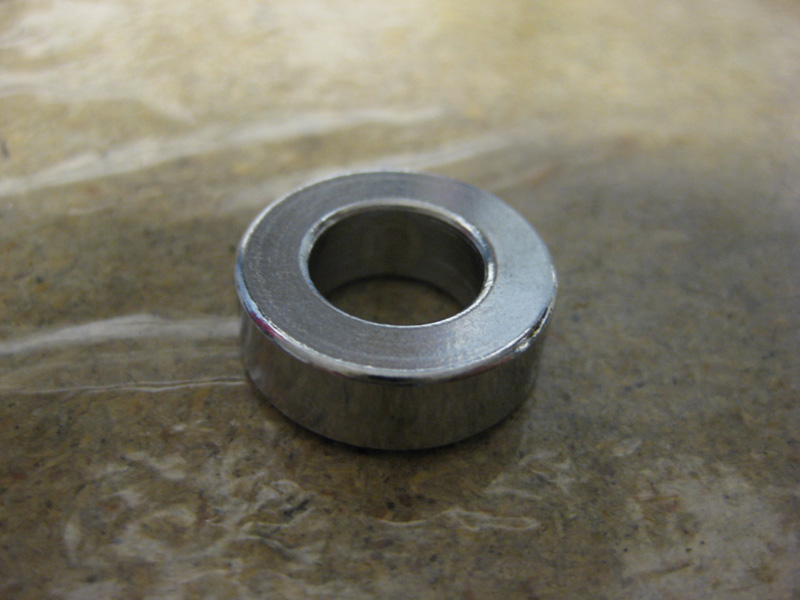
1 x 1/4 spacer the same inner ID as the OD of your bolt
1 x round steel spacer the same thickness as the wheelwell bracket
– Bolt/spacers can be found at hardware stores such as Aces/Lowes/Etc
Steps:
1. Bolt the engine side bracket on and using your new bolt, see how many threads you will need to cut off to allow the bolt to be installed. Out of the box it will hit the hardlines behind the engine while trying to instert the bolt through the hole.
I removed about 1 and 1/2 threads from the bolt. This not only allowed clearance into the bracket, but allowed enough thread to be removed to install the closed end Ebay nut and allow for appropriate torque when installing the damper.
2. After modifying the bolt, install in the following order – Bolt – Spacer – Damper – Nut.
This will index the damper towards the front of the car 1/4″ from ‘stock’.
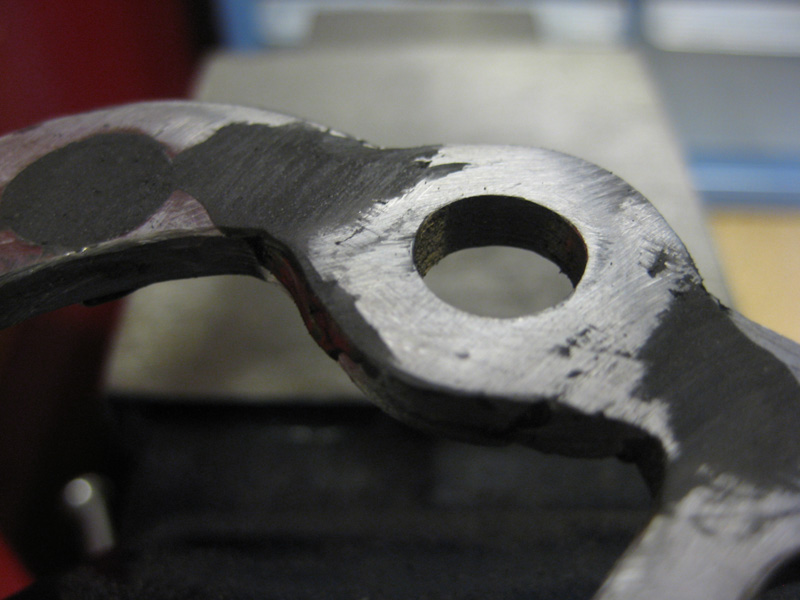
3. Install the wheelwell bracket w/ included hardware. Make sure this is installed tightned down. It will help making the next measurement more accurate.
4. Once the bracket is installed, take the half installed damper and lay it on top of the newly installed bracket. Making sure it is completly horizontal to the engine bracket and verify that the damper will not make contact with any of the ABS line bolts, mark where the ‘new’ bolt hole will be.
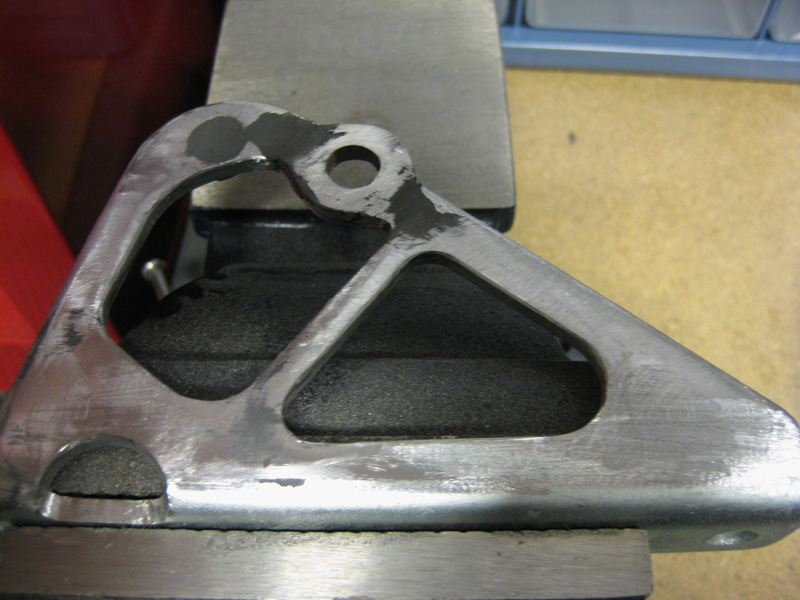
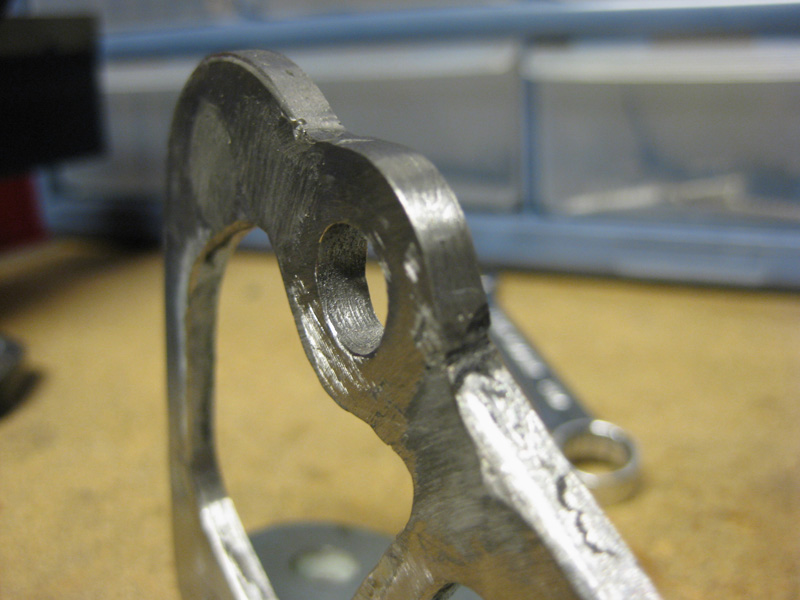
5. Remove the wheelwell bracket and put into a vice. Using your new steel spacer, center it over where you marked your new bolt hole and trace the spacer onto the bracket. This will be your cutting template of steel to remove from the bracket.
6. Cut from the wheelwell bracket your traced out area
7. Bevel the wheelwell bracket where you cut to allow welding material to penetrate the steel. Do the same for the steel spacer.
8. Using a rubber mallet, hammer the spacer into place into the wheelwell bracket.
9. Taking your time, tach the spacer into the bracket, then follow up with your finishing welds.
10. Grind down and finish your welds.
11. If you want, to make the bracket look nicer you can use some body filler (or in my case JBquick) to fill any inperfections you may have on the bracket. You can also fill the unused ‘stock’ hole.
12. Add paint (If desired)
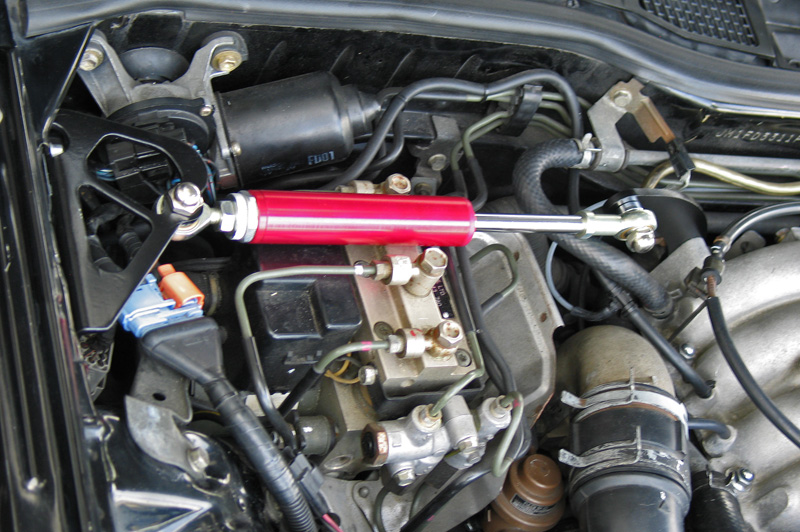
13. Install in the same manner as before, but make sure the damper is located on the bottom side of the wheelwell bracket or the hoot will strike the damper.
14. If everything was done right, you should now have a perfectly horizontal damper that does not contact the ABS pump, ABS bolts, and does not strike the hood.
Spacer:
Spacer next to Ebay bolt/nut:

Modified Bracket:
New bolt w/ spacer next to Ebay bolt:
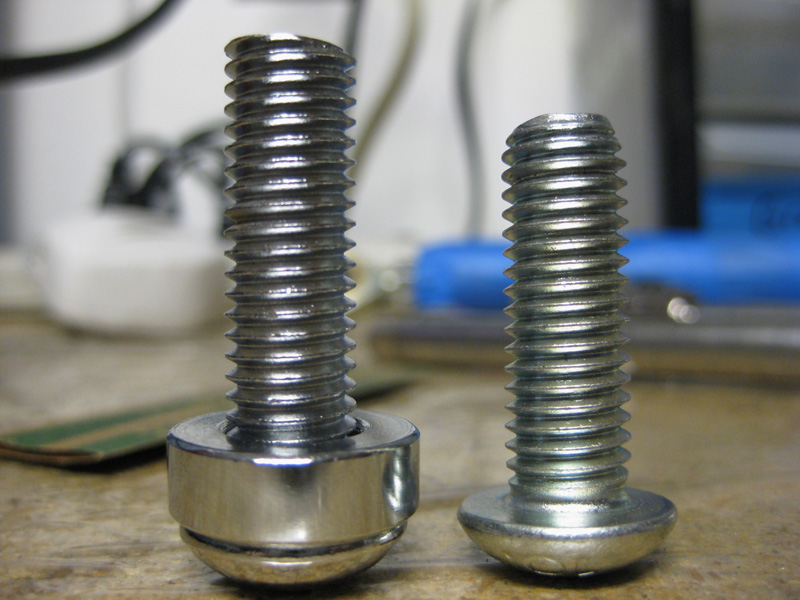
Slight modification of new bolt:
Custom Bracket Installed:
Video of Damper in action:
Original thread on RX7club.com: https://www.rx7club.com/3rd-generation-specific-1993-2002-16/howto-modify-ebay-engine-damper-853828/